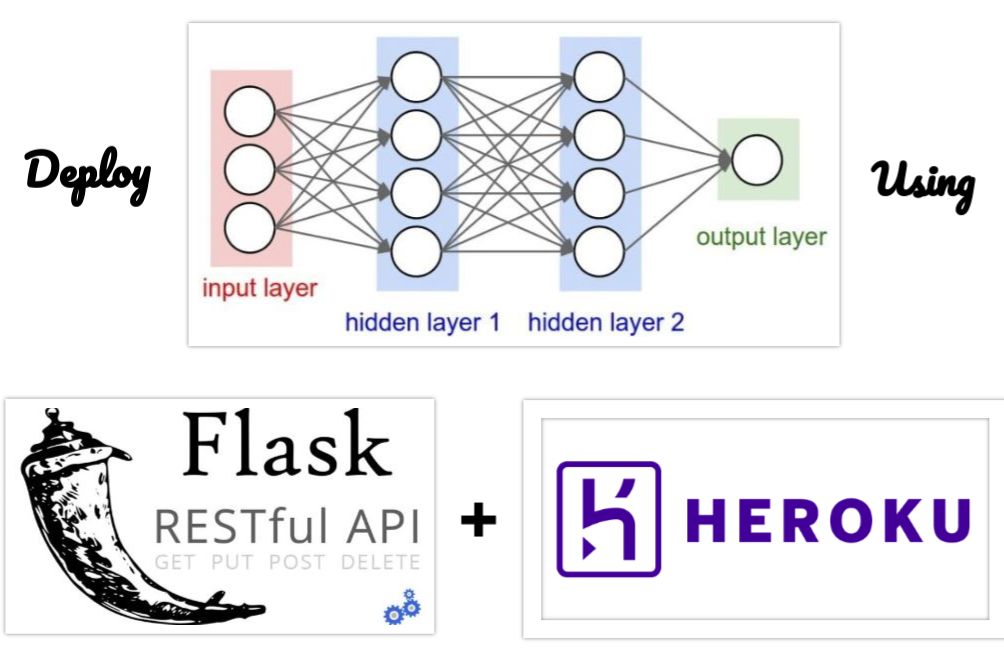
Using the popular web framework Flask + Heroku is a cloud platform to help you deploy without much hassle.

A routine Life cycle of a data science project is to starting with a use case, picking up data from all sources needed for the type of problem we want to solve, analyse data and performing some feature engineering and building a statistical model to make good generalization on future data and deploy into production and monitoring often for perform measures and in case to retrain the model with new data .
But, most of the time people end up at the stage of building a statistical model, they won’t involve in putting their model over the internet for real-world testing because of new technical skills like front-end, back-end developing needs to learn to deploy a model into a web.
Ofcourse, there are some easy ways to do it, that gonna make our work simpler even though you should have to know a few basics not even 20% for your first deployment. In this article, you will learn how to do a deployment part form basics.
Before starting this article let me motivate you guys with my project build with flask and Heroku, You are welcome to have a demo.
What you will be learning from this article.
- Save model weights to disk after training.
- What are the skills required for deployment?
- Setup and installing Flask.
- Download a nice html5 templates for front-end.
- Write code and upload it to Github.
- Deploying to Heroku.
1. Save Model weights.
Most of the folks know about this step and often call this as serializing. After training the model of some problem-solving use cases. Every one usually saves their entire model(architecture + weights + optimizer state) or just weights with python or API library (Pickle, Keras) of their choice to prevent the training model again. One thing you should know if you want to save only weights you need to have its architecture as a JSON or YAML file before loading or it shows you an error “Read mode only”.
Suppose you have done training and want to predict after few days at that time-saving model to an object will be a good idea because there no need to train again, you can simply load weights and make predictions.
2. What Types of Skills required for deployment.
2.1 Web frameworks.
You should know some fundamentals of web framework there are plenty to choose over the internet like Angular.js, Node.js, and ASP.net, PHP many frameworks but data scientist folks love python and R(used for statistical analysis often) as well, we can also write web app with python using most popular web frameworks like Django and Flask.
Flask and Django are two choices to build web apps.

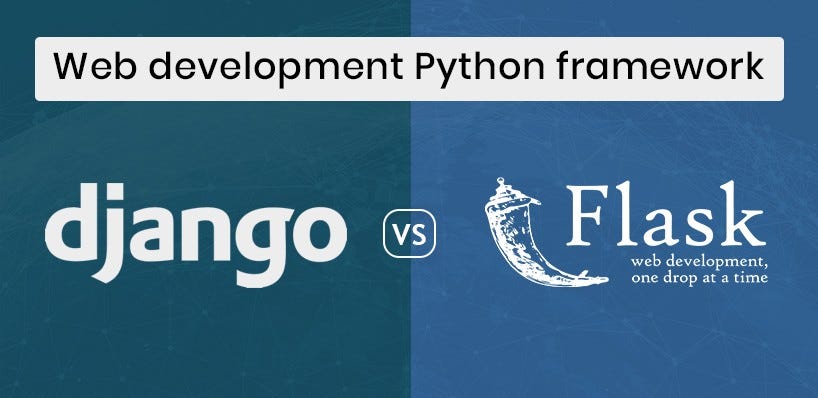
Flask is, of course, a lightweight full flexibility with WSGI and easy to learn and also in implementing but only used for both small and large scale projects but often used for small scale projects, every one love it’s simplified version. You can start your web app with just 5 lines of code.
Django is a full-stack framework everyone’s favorite often used for developing large applications almost you can do plenty of things but it takes time when you get used for it. it involves some of the concepts that are interconnected. so, you need to learn those before writing your code.
Conclusion: Flask and Django have some similar concepts. Start with the flask it covers basics and be familiar with concepts like (templates and rendering) after developing few applications through flask you can make a transition towards Django.
2.2 Some basic knowledge of HTML+ CSS+ Java Script.
Yeah, front-end and back-end development but we won’t write much code for the UI part and background operations. It’s completely optional if you don’t want your web app with good UI, in that case, you won’t be tackling with this markup and styling much, for a good looking website with fully responsive and exception handling you need to learn some concepts. but, trust me it gonna be simple. we just download a nice looking template from bootstrap websites or html5 sites.
Just make some changes with the code and you will be up and running a nice website with all your stuff. we will be looking this part down below after a few sections.
3. Set up & Installing Flask.
To Install Flask you need to have either pip or conda (if you installed already). Before installing flask you need to create a virtual environment for your flask project because not to conflict with the libraries. we only use whatever library required for our project with their preferred version. so, creating a virtual env will be pretty useful.
Pip install Flask
After you have done installing check if it’s installed properly by importing flask libraries in jupyter notebook (or) in the terminal.
4. Get a good UI template for your project.
You may want to showcase your project as a professional one in UI. then you need to do a front-end part. luckily we have all bunch of readymade code available over the internet some of them listed below completely free.
Twitter Bootstrap is a toolkit that uses CSS and Javascript / jQuery. It’s a front-end framework with all built-in CSS classes you just need to import one it will do all styling to your website. you can start working on it without much knowledge of CSS. It also creates a responsive website. Of course, you have to know HTML (Basics of website building).
Pick one template that best suits your projects UI remove sections that you feel useless in that template.
5. Start Writing code.
At first, I will explain the use case that I’m deploying to a web app which will help in detecting the disease of plants only I trained for two categories Tomato & Potato analyze and provide remedies biologically and chemically to overcome the loss and further controlling in affected plants. if you feel confused with agricultural things in remedies I gathered a few videos that help you explaining in practice by videos button located near results.
You can find the code of the above project in my Github below link. I will explain the code in detail step by step.
First, you should know the structure of files in the flask project. it will look like below one.


Not to worry about the files in the models’ folder. you can grasp files in the model folder are nothing but model weights(h5), architecture (JSON) and database (.sqlite)those are my project files but for beginning, you need to have folders . Don’t change the name of the folders as they are to be in format flask wants.
First, two folders were __pycache__ and .vscode are for visual studio code(vs code) config files it will be generated when you code in visual studio. So, not to worry about it.
Folders:
- Models ==> model weights, JSON and any database files.
2. Static ==> this is where CSS, javascript files and also images used in the flask will be stored in this folder.
3. Templates ==> have index.html (name need not be changed) and other HTML files.
4. Uploads ==> Before making predictions the image file should be stored in some folder this is it.
Files:
app.py ==> Main code to run flask and also working on the webserver.
Procfile ==> You use the Procfile to tell Heroku how to run various files of your app.
requirements.txt ==> List Packages used for your projects so that Heroku will install on it dynos (containers).
.gitignore ==> GitHub files to ignore.
.gitattributes ==> Paths to Large File Storage (Git LFS) when you want to upload files more than 100mb Git LFS comes handy.
5.2 Flask Script.
5 Lines of code can get your web app up and running.
Flask boilerplate code.
In Index.html write hello world or any text to display.
<!doctype html>
<html>
<body>
<h1> Hello world</h1>
</body>
</html>
@app.route(‘/’) where @ decorator used to wrap another function and extends the behavior of other functions.
render_template render the Html files. app.run() starts the webserver and provide a localhost URL. Open http://127.0.0.1:5000/ to view your web app,
Flask Basics Done. Write Model predict function .
Create a predict function in the app.py file that gets our image through request module in flask and process it with model and returning the results to result.html to display.
==>Get the image file using the request function from the flask module.
==> Save images from user uploads to a folder called “uploads”. before prediction, it should be in memory.
==> leaf_predict is a function that returns if a user uploaded image has a leaf or not. This is done using Convolutional Autoencoders which I’ll discuss in the next article. if the return variable is leaf then our model will start prediction unless it won’t.
==> Model_predict function used to preprocess the uploaded image in such a way we were trained on like resizing, image to the array, normalizing and expanding dimensions then compiling and predictions.
==> Info() function is to get disease information from a database file (.sqlite). it will retrieve disease information after model_predict returns disease name .to retrieve we make write code to check disease name and SQLite database disease name is same, if same we return disease info to results page.
==> At last returning None ..Why?? After the ‘POST’ method request.files set the default to None.
If you want to get a clear picture and more about the code you can view through My Github.
Check out it will be super simple. it’s a big project so I’m leaving for you to review the remaining code and understand so you can get workflow.
5.3 Html script for the input form.
Get your downloaded bootstrap or Html file in Vs code or any IDE of your choice here I used it vs code.
But the main part is to get image data through the Html button so we use form data after submitting it should call predict function in app.py
form data Html.
- < form action = “/predict” function to evoke after submission with POST method.
- <input tags type of “file“ makes a button for uploading the file accept=” image/*” gets only images of all formats like(jpg, jpeg, png…)
- required variable at the end makes the user input image compulsory for submitting the form.
- Finally, <input type=” submit” makes form submitting after receiving the image.
5.4 Returning Results with Html.
After prediction, we want to display results it can be done with Html again. first, we need to pass the result through the “predict” function in the app.py to result.html file.
Results through Html.
result.html disease info code.
After Building entire model with flask .Now, it’s time to upload your work to Github.
- Uploading all code to Github for Heroku cloud to grasp code from GitHub rather than Using Heroku CLI to deploy.
Before pushing your project to Heroku You need to have two files that are needed for Heroku on how to run the app. Procfile and requirements.txt
Procfile:
web: gunicorn app:app --bind 0.0.0.0:$PORT
- Gunicorn is an open-source web server for Python. It allows Heroku to deploy our application .you need to install it with pip in case you are not installed.
- We point our server to start the app.py with the app name the instance of Flask is the second parameter and the first parameter is the name of the app.[app:app]==>[name of the app : its instance of Flask(__name__)]
from flask import Flaskapp = Flask(__name__)
- Port and hosting will be taken care of Heroku.
Requirements.txt:
To get all packages that you used for your project into a file .you probably know this command
pip freeze > requirements.txt
Freeze command display all packages with their current versions. we are copying the result of freeze command to a file called requirements.txt using “>“operator
6. Deploying to Heroku.


It makes the job easier with Heroku cause it takes care of everything because it is a platform as a service (PAAS) meaning it does set up infrastructure, pre-installed OS and redundant servers, run time environment. Except for some steps you should do manually.
Steps to follow:
- Create a Heroku account through the official Heroku website.
- After login, Create App.


3. Name your project it will be deployed as name.herokuapp.com and set up the Deployment method to Github.


4. Here, we are linking our GitHub account with selecting our project repository.
5. Manual deployment verifies the procfile and installs all libraries in requirements.txt file compress to slug compiler responsible for scaling application to a dyno for execution.if whole project after compressing to slug is more than 300MB your application stop process your app. Because they limited the slug size for free access accounts with limited hours.


6. My slug size is below 300MB and the frameworks used python and git LFS, the files that are linked to Large File System (LFS) are not supported in Heroku.
- So we need to add configs as key “HEROKU_BUILDPACK_GIT_LFS_REPO” to value “https://<token>@github.com/username/repository.git” token is a unique personal Access token.
- You need to register for that in your GitHub > settings> Developer Settings for Heroku to access your LFS files and also link in buildpacks to install LFS “https://github.com/raxod502/heroku-buildpack-git-lfs.git”.
7. Lastly, hit the deploy button in the deploy section and you are done with your project and available for people accessing over the internet.


If you get any error it good to address the logs and debug your errors and google it you will surely end up with solution.
Key points to remember:
- Use the flask framework if you are a beginner learning your basics.
- Use the template from the bootstrap or html5.net website they are free. Make changes to the template that fits your project.
- Get working with Heroku it seems to be easy as you working on often.
- Finally, try to make projects that can level up your skills to advance get core fundamentals with small projects then move on to big ones.
It’s a long article, I hope you guys like it and has learned basics from this article. Try playing with the code that is in my GitHub. I come up with another article soon.
Happy Learning :)
You're following Towards Data Science.
You’ll see more from Towards Data Science across Medium and in your inbox.

WRITTEN BY


No comments:
Post a Comment