This post is intended to be a guide for those that want to deploy a full-stack MERN app. It will be very specific on steps so it's a bit of a read, however, it will ensure there is minimal to no confusion on how to get from point A to point B.
Feel free to hop around if you've got some of these steps done, know how to do them already, what have you.
If this is your first time don't intimidate yourself! Just read and complete each step one at a time.
NOTE: This guide is based on my specific project structure and this works well for it. There are definitely other ways to deploy and other ways people prefer to have their project structured.
Let's get started!
Project Context
So you've got a cool project you'd like to show off to the world, how do we deploy a full-stack MERN app?
Let's first get some basics out of the way and context on how I did this: my project structure, basic configuration, and why I chose this way of deployment.
What is MERN?
MERN stands for MongoDB - Express - React - Node.
- MongoDB for the database
- Node & Express for the server-side
- React for the client-side
There's also the MEAN stack, which uses Angular instead of React, and the... MEVN(?) stack... whatever, it uses Vue instead of React or Angular.
Project Structure
One thing that is definitely dev to dev, company to company, is how we structure our project as a whole. By this I mean where our directories are in relation to each other. Here is my fully collapsed root directory to show you the top-level:

Just three things:
- My VS Code settings and extensions JSON files
- Client-Side Code
- Server-Side Code
I like this structure because to me there's a clear separation of responsibilities. It makes it easier for me to work on one or the other by just collapsing that whole folder. For instance if there's some UI feature I want to add/fix/alter then I have no reason to open my server directory.
I feel it makes it logical and simple to work with. Again, this is absolutely personal preference. This is also a big reason why this project was deployed in the way this guide will describe.
Some Options for Deployment
- Keep
clientandservertogether- Your Express and React files will live on the same machine and Express will both serve your API requests and the React files as well
- Put your API behind a proxy
- This will allow your Express and React files to still live on one machine but each will be served by a different server
- Split
clientandserverapart (the option for this guide)- Host your Express API on one machine and the React App on another
Deployment is not something I have a ton of experience with so the first two options I've never attempted.
I do know that in some cases for deployment on one machine a lot of devs must nest their entire client directory inside of server. This was a big reason I went the route I did for deployment because for me I wanted to keep the structure pictured above with a clear separation of client-side code and server-side code.
Project Configuration
The base of the project I deployed was the Create-React-App, which comes with a webpack.config.js and other basic configurations out of the box, for the front-end.
I also used Webpack for the server directory as well to allow all those beautiful imports and exports to work for me and allow me to separate responsibilities on the server-side.
Here's a shot of the client and server directories expanded just to show you how I have it setup. There's only a couple things that will need to be there for this project structure to work which I'll point out.

Each directory, client and server, needs:
.gitignore- To ignore the files and directories we don't want stored in our repo
package.json- To specify our separate
dependenciesanddevDependencies
- To specify our separate
webpack.config.js- The
clientdoesn't have one because Create-React-App again provides one out of the box so I didn't need to specify it there
- The
You may have noticed I have a yarn.lock inside client and a package-lock.json inside server. I intentionally use yarn for client-side and npm for server-side because it helps me just keep those separate in my mind. I know if I'm using yarn then I'm in client and if I'm using npm I'm in server. Once again just a personal preference - you could use yarn or npm for both and have no issues.
You may have also noticed the Procfile which we'll get to later in the guide. As a teaser this will be needed by Heroku to deploy our server code which is why it lives inside of server.
Now that we have some context on how my project is setup let's talk about the actual process of deploying.
Deployment Process
What we're going to do specifically is host our server code on Heroku and our client code on Netlify. So our React App hosted on Netlify will make API requests to our Express API hosted on Heroku.
This will assume that you have both client and server running correctly and that you have already connected your app to a hosted database on MongoDB.
Steps
Create a Netlify account or sign in if you have one
Create a Heroku account or sign in if you have one
- There is instructions on how to do this for both Mac and Windows in this linked article
Go to your terminal and type
heroku login- This will prompt you to press any key, once you do it will take you to your browser where you will just need to click 'Log In'.
- Once this is successful you can close that browser window and navigate to your text editor now with your project open
Create a file named
Procfile, no file extension, in/serverdirectory.- Include this text and this text only in the
Procfileweb: node dist/main.js
- This tells Heroku what to do after building our app - which specifically is to run our bundled file from webpack with all of our server logic inside it
- If we didn't include this it would likely build just fine but never actually start our server
- Include this text and this text only in the
Now we must add to our
server/package.jsonthe following block:- You can more than likely add this anywhere (not nested in any other property) but I added it right below the
"main"property near the top in theserver/package.json. - Recommended to check your node and npm versions first to know which versions to put in this next block. While it likely won't break your app with a slightly different version it is safer to specify the versions you used in development to prevent unexpected behavior.
node -vornode --versionto check your Node versionnpm -vornpm --versionto check your npm version- Add those versions that return to this
enginesproperty if they're different than mine. - I used
"14.x"fornodeto say, "As long as the major version of Node is 14 then use the latest minor version. Major version releases are when they're likely to be breaking changes which we want to avoid.
"engines": { "node": "14.x", "npm": "6.14.7" },- You can more than likely add this anywhere (not nested in any other property) but I added it right below the
We need to allow access to your MongoDB database now from a new IP address. For simplicity, I added all IP addresses to be allowed.
- BIG NOTE: In a production app you do not want to allow all IP addresses to access your database! You will want to find the specific IP address that hosts your server-side and add just that one as allowed.
- The app I deployed does not contain any sensitive information. It's just a simple card game so no need for me to be super secure. Once more, do not do this for a real production app or even a side project that may contain sensitive information.
- Go to the MongoDB Website and sign in
- Navigate to the Project you're deploying using the dropdown on the top left
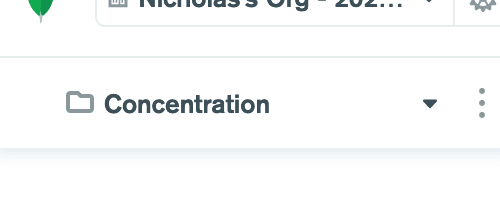
- Then click the
Network Accesstab on the left side bar
- Click the green button on the right of the screen that says
Add IP Address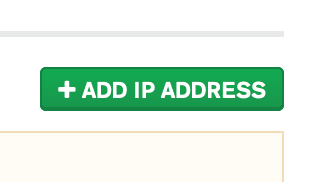
- A modal will popup. Click the button that says
Allow Access from Anywhere. This will place0.0.0.0/0in theWhitelist Entryinput. Then clickConfirm.
In development I had the express server listen to
localhost:5000to run there and my react app ran on port3000. We must change what this Express server will listen for toapp.listen(process.env.PORT || 5000)- So this will tell the server to listen to the
.envenvironment variablePORTwhich we should not have set in our own.envfile. OR it will listen to port 5000. - The
process.env.PORTwill be set by Heroku's.env- they essentially will tell our server which port to listen to. - If there is no such
process.env.PORT, in other words there is no.envfile that has been configured, then it will default to5000. This will allow us to keep that code in and be able to run it in our local development environment on port5000because we do not have a.envvariablePORT.
// server.js

/*
  Other code...
*/

app.listen(process.env.PORT || 3000);
Ensure in your terminal that you are inside the root of the project you are deploying for these next two steps
- So this will tell the server to listen to the
Now back inside your Terminal the next command we type is
heroku git:remote -a <project-name>. Replace<project-name>with really whatever name you want - I recommend the name of your project to keep it simple. So for example it will look likeheroku git:remote -a my-project.- This is going to create a remote connection with Heroku specifically and also create a branch on that remote for you and your app name will be the name you provided, such as
my-projectabove. Next we're going to actuallypushour server code to that remote Heroku branch.
heroku git:remote -a my-project- This is going to create a remote connection with Heroku specifically and also create a branch on that remote for you and your app name will be the name you provided, such as
The command we need to push our
servercode specifically, because we have the separation ofclientandserverin our project structure, isgit subtree push --prefix server heroku master- This is telling git to push a subtree, or in other words a subdirectory, from our current git repo. The
--prefixflag comes before that subdirectory that we want to push, in our case it isserver. And lastly we're telling it to push to the remoteherokuourmasterbranch.
git subtree push --prefix server heroku masterIF you want to test and ensure that you've deployed your server to Heroku just add in a test route in your
server.jslike:app.get('/', (req, res) => { res.send('Hello from Express!')You can view your app by:
- Copy and pasting the url that will appear in your Terminal after successfully pushing your code to the remote Heroku branch
- Navigating to your project on the Heroku website and there will be a button that says 'View App' - click it and it will take you there- If you see the 'Hello from Express!' (or whatever test message you used) then that means your server is running correctly
- This is telling git to push a subtree, or in other words a subdirectory, from our current git repo. The
Now for our MongoDB connection to work we must define an environment variable for Heroku to store our MongoDB connection string.
We want to keep our connection string secret as we don't want anybody able to connect to our database and change, delete, add things etc.
In our local build the connection string, is stored in our.envfile inside of/server. I named by connection stringMONGODB_URI. You can do this next step on the Heroku CLI or on the Heroku website.
I recommend the website it's more straightforward and you don't have to worry about escaping special characters. I'm going to describe the next steps going through the website.- Navigate to your dashboard on Heroku
- Click on your project name that will be present from our previous steps where we created our remote branch and pushed the code
- Navigate to the Settings tab near the top
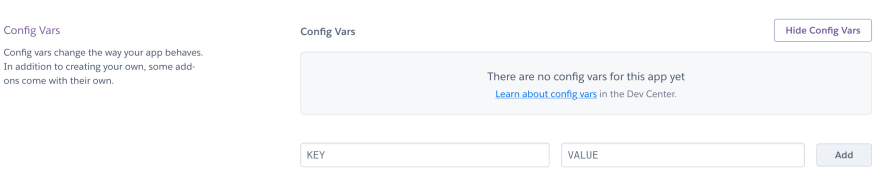
- The second section is 'Config Vars' - click on 'Reveal Config Vars'
- You'll see two inputs:
- One is the name of your environment variable - name this whatever you have it named in your local build. For me that is
MONGODB_URI. - Second is the value - paste your whole connection string here that you should copy from your
.envfile directly to avoid any typos.
- One is the name of your environment variable - name this whatever you have it named in your local build. For me that is
- Then just click 'Add' and our MongoDB connection environment variable is set.
Our
servercode is officially deployed and configured correctly. Now onto theclientcode with Netlify.Next is to deploy the front-end React code in
/clientto Netlify. Login to Netlify if you haven't already, the default tab should beSitesor just navigate to that tab.- Click the button that says
New site from Git
- Click the
Github(orGitLab/BitBucketif that's where your repo is hosted) button belowContinuous Deployment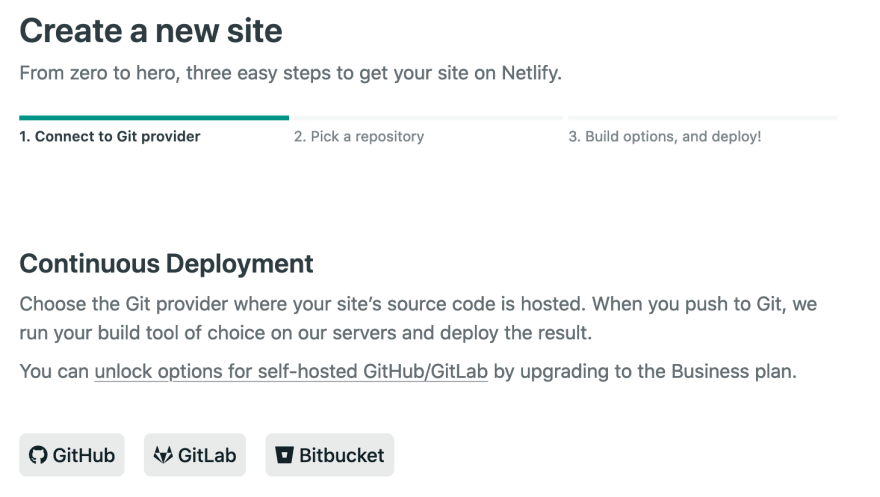
- There will be a search bar that says
Search Repos- type in the name of your project repo here to find it then click the line that has the repo you're looking for
- Click
Deploy Site.
- Once that's done it will take you to a page that shows a box near the top with your auto-generated site name and your site url right under it. In that box click
Site Settings.
- First you can change your site name here if you'd like by clicking the
Change site namebutton on that first page. Do that if you'd like.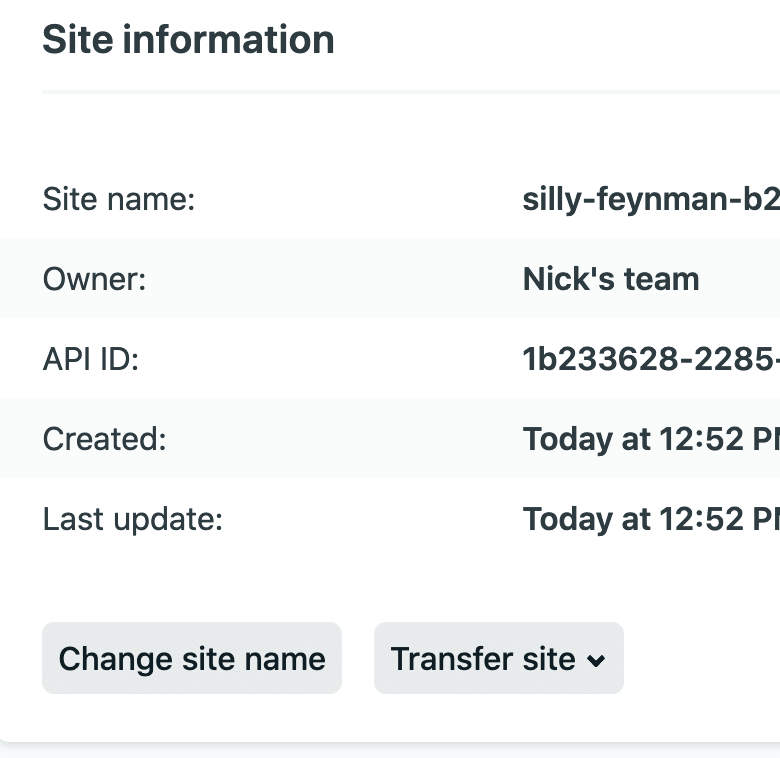
- Now on the left menu bar click on the tab that says
Build & Deploy.
- Click the
Edit Settings
- Change your
Base directorytoclient, change yourBuild commandtoyarn build, and change yourPublish directorytoclient/build. Then click theSavebutton on the bottom left.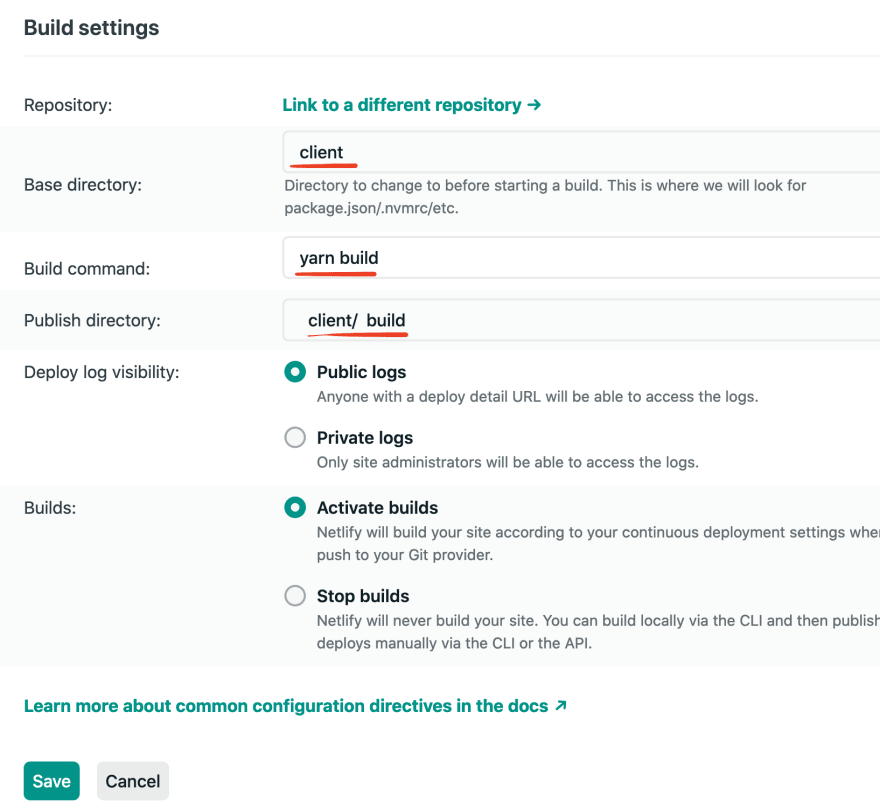 To ensure this all redeploys after we change these settings I like to explicity trigger a redeploy.
 - Near the top in the tabs located right under your team name and site name click on
Deploys
- Then click the
Trigger deploybutton which has a drop down with two options. I always useclear cache and deploy siteto ensure a fresh build that has all changes I've made.
- Click the button that says
LASTLY after we deploy our front-end React code we must ensure any requests we're sending from the client-side is changed to use our Heroku URL now instead of localhost.
- In my structure the requests were being made from
client/api/index.jsso navigate to that file and any request that containshttp://localhost:5000must be replaced by your Heroku URL.
// Before const res = await fetch('http://localhost:5000/scores/' // After const res = await fetch('https://my-project.herokuapp.com/scores/') // 'my-project' in the URL will either be the auto-generated // name from Netlify or if you changed the name it will // be the name you gave it- In my structure the requests were being made from
Ensure that you push these changes up to GitHub. Netlify will trigger a redeploy when they detect changes to your master branch. So for this to work you must make those changes apparent to Netlify essentially.
Now any request, instead of going to your local server you've ran while developing, will go to the hosted server you just deployed to Heroku with all of your Express Routes still intact and functioning properly.
You did it!
It's undoubtedly a long process to get this done. But the important thing is that it can be done!
It's awesome to see the things we build on our local machine in development. After this though you can send a live link to your friends, colleagues, etc. for them to check it out!
This is awesome to have a live example as well for anyone looking for a job. Being able to not only have a link on your Resume or Portfolio site to the code on GitHub but for recruiters, managers, whoever to be able to see the project in action is huge!
Let me know in the comments...
... how you like to deploy! Link me an article, give me a brief overview, or whatever you want. I'd love to hear of the other ways devs get their projects out there for the world to see and enjoy!

Discussion
Read Next

18 Programming YouTube Channels that you shouldn't miss
Tharun Shiv -

33 Most popular JS repositories on GitHub in May 2020
Iren Korkishko -

How to Become A Front-end Developer (A Complete Practical Guide)
Syakir Rahman -


do you have a github link to the steps mentioned above?
The project I did this on is:
github.com/stlnick/concentration-game
Just browse the commits and you’ll see the steps I had to take in the code. I tried to commit each step to make it clear what I was doing.